Photos are incredibly important when selling a home because poor listing photos turn buyers off immediately. Embellished photos are also a turn off.
Strengthen your chances of selling the home with excellent photos that represent the property fairly. There are many factors that go into taking great property photos. These listed below are steps you can take today to make your photo quality better.
1. Use a Real Camera
How many times have you been sifting through property photos online, and it looks like the photos were taken from a phone? If you think they were taken from a phone, you’re probably right.
As a REALTOR®, I see photos everyday in the MLS that were taken by “real” real estate professionals, and the photos look like they were taken with a flip phone from 2005 while the agent was jogging across the room. I STILL can’t believe what I see sometimes.
If you’re not hiring it out (which I believe you should be), then I recommend buying a real camera. A digital SLR will do wonders, even on the basic auto setting. Spend the $400-500 for a solid camera, and you’ll instantly get better than average photos. Of course, taking the how-to class hosted by the camera shop will help you learn the different settings of the camera, thus producing even better shots.
2. Time of Day
For the exterior, high noon is a decent time to get all the shots in one. Otherwise, don’t ever shoot into the sun.
For example, if the front of the property faces west, don’t shoot the front of the house at dawn, but rather in the afternoon or evening. That way there are no big shadows.
Make sure to get the WHOLE house in the photo. This may require you to stand in the street or even across the street in the neighbors yard (beware of any Sandlot type dogs).
For the interior, shooting just before sunup or just as the sun is going down are both the best times of day. The lighting will be best when there is roughly the same amount of light inside the home as there is outside. Avoid shooting the interior during mid-day, unless it is a cloudy day.
3. De-Clutter
Staging the furniture isn’t as important as de-cluttering the room. Remove as many ‘loose’ objects as you can, such as pictures, chotzkies, magazines, pens, papers, etc. A clean room not only looks better in person, but also in a photo.
Try to show as much counter space and as much baseboard trim as possible, while using an appropriate amount of furniture or counter decor.
4. Straight Lines
When a photo is taken from eye level, you are most likely shooting down across the room. The wall edges and cabinets appear to be crooked when compared to the frame edge of the photo.
To correct this problem, take the photo around waist level. This will get you to a better starting point. I also suggest using a tripod with a leveler.
First, the tripod will help you stabilize the camera, removing blurriness and increasing the sharpness. Second, you can use a slower shutter speed to capture more light in the photo (make sure to take a class or practice taking photos with different shutter speeds). Third, the leveler will also assist with getting your camera lens as straight as possible with the room walls, kitchen cabinets, and appliance corners.
5. Focus on the Room, Not the Furniture
How many times have you seen a listing photo of just a dining room table? It’s like the agent used a photo the owner took while they were trying to sell their table on Facebook Marketplace (which could be plausible given the owner of the property is trying to move).
Buyers aren’t buying the table! Instead of taking a photo of a table or couch, focus on the entire room. The furniture should compliment the shot.
Try taking photos from a few different corners of the room, so you have more photos to choose from. One angle may look much better than the next.
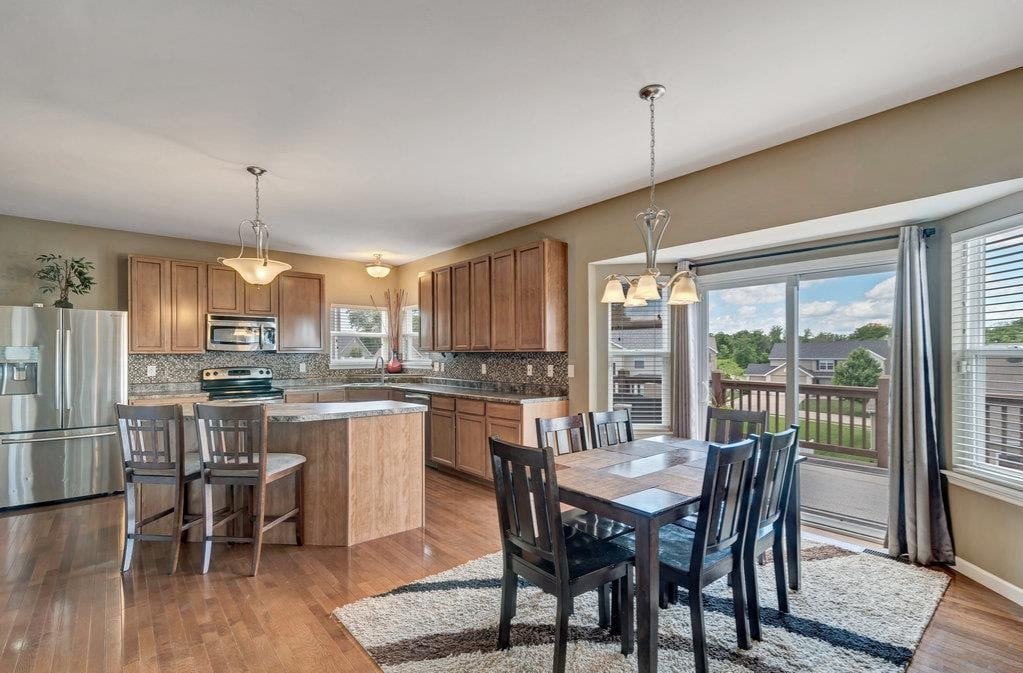
6. Room Relationship
Let’s take tip #5 a step further. While taking a photo of one, solitary room is perfectly fine and certainly called for, try taking a photo of two rooms at once.
Don’t let your head explode.
Adjust the camera to shoot a kitchen and hearth room together, or maybe the front entry way and the office. By combining two rooms, it shows the depth and relationships between the two and gives the viewer more context by visually describing the floor plan of the home.
These 6 steps alone won’t produce the best possible photos. Taking classes, buying even better equipment, and practicing photo taking are all ways you can enhance your skill set. This is a great starting point for those that want to begin improving the art of property photography.
